
The Excel Code Generator is simply a tool to help create images for the DMD as it makes it easier to visualize the light-work and which bits are on or off. Once the functions governing the Excel sheets such as macros it was actually easy to have the spread sheet to also generate the FORTH codes according to our protocol.
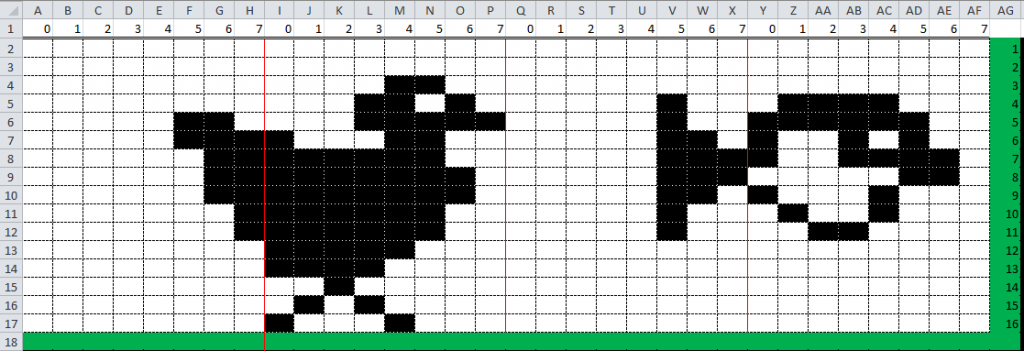
This picture shows the cells of the spreadsheet and the location of the byteFrames. The excel program converts one byte frame at a time, therefor it allows a user to create multiple drawings on the same sheet. In this case the fish and the chicken picture was drawn at the same time but later saved as two separate functions.
Once the drawing is finished, the codes can be found in the other sheet (codes) inside the Excel program. There a user will find the Forth codes for each byte frames. The codes are pre-formatted however requires a user to still input the number of cells that the user wants the program to run. for example, the tail of the fish and the chicken both only take up only 3 bits of the byteFrame. In this instance a user would specify the number 3 for the loop. but this is optional.
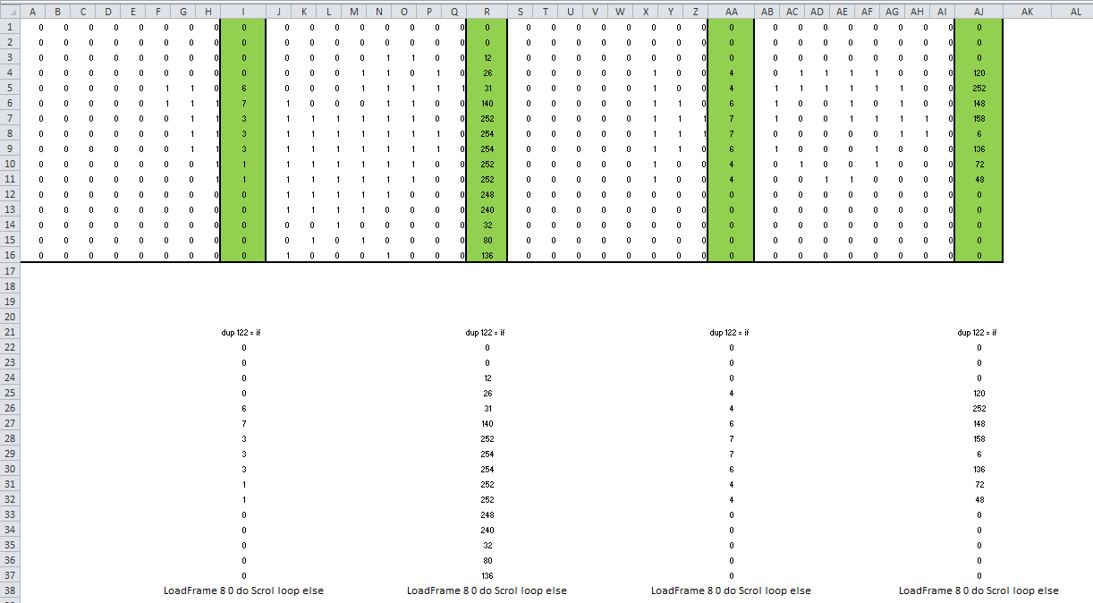
Formula : byte =(A7*2^7)+(B7*2^6)+(C7*2^5)+(D7*2^4)+(E7*2^3)+(F7*2^2)+(G7*2^1)+(H7*2^0)
The picture above shows how the byteFrame codes are organised. A user simply copy and paste this code into a Forth project file.
Example:
This example shows the steps required to have a drawing made using the Excel DMD drawing tool and then later have it display onto the DMD.
For this project we draw a chicken,
Open the excel sheet and draw the image. In this case our chicken took only 2 byteFrames
Once drawn open the Excel sheet called “code” and a forth text file. project that you’re working on.
Create a label then copy and paste codes under the label. For this example we create 2 labels ( chicken and chicken1 ). This was because our image of a chicken took 2 byteFrames to create. The code should look something like this: notice how the loop number have been adjusted for the tail section in the chicken1 code. This tells the program how many frames to shift when scrolling.
[code]
: chicken
0
0
12
26
31
140
252
254
254
252
252
248
240
32
80
136
0 SetFrame 8 0 do 0 16 Scroll loop ;
: chicken1
0
0
0
0
6
7
3
3
3
1
1
0
0
0
0
0
0 SetFrame 8 0 do 0 16 Scroll loop
[/code]
The final step is to simply create a function that calls each byteFrame used in the image.
[code]
: showChicken Chicken Chicken1 ;
[/code]
When the code is executed the drawing/chickens should appear on the display.
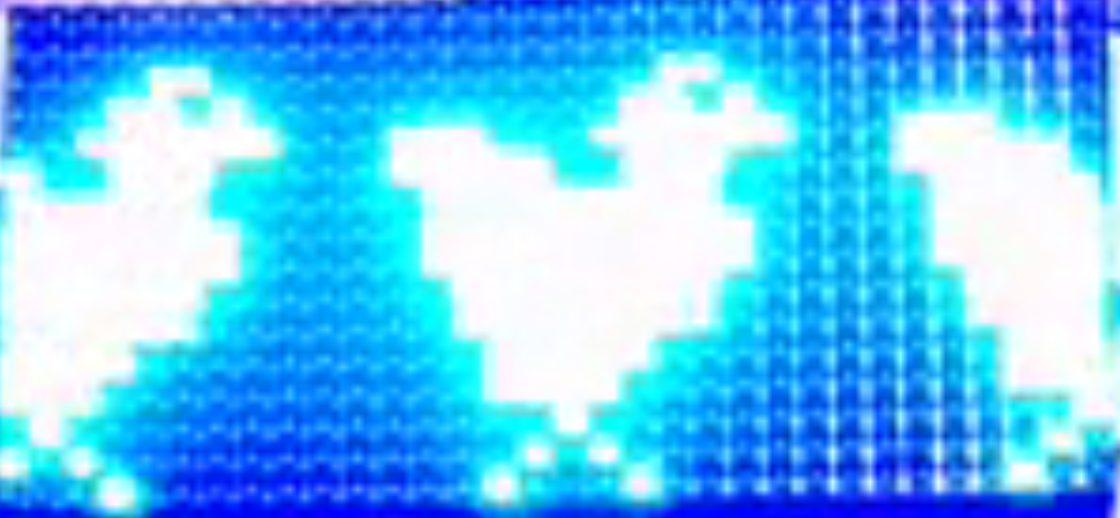
Other images created with the display:
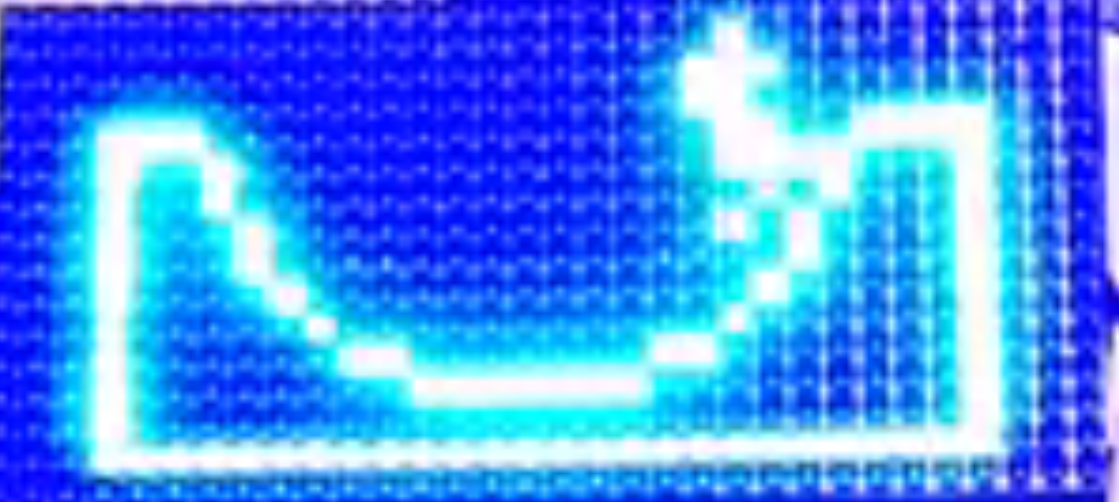
The skater boy animation was created using the a ramp picture function similar to the chicken example and then individual skater boy pictures being turn on and off using the InputIntoFrame function.
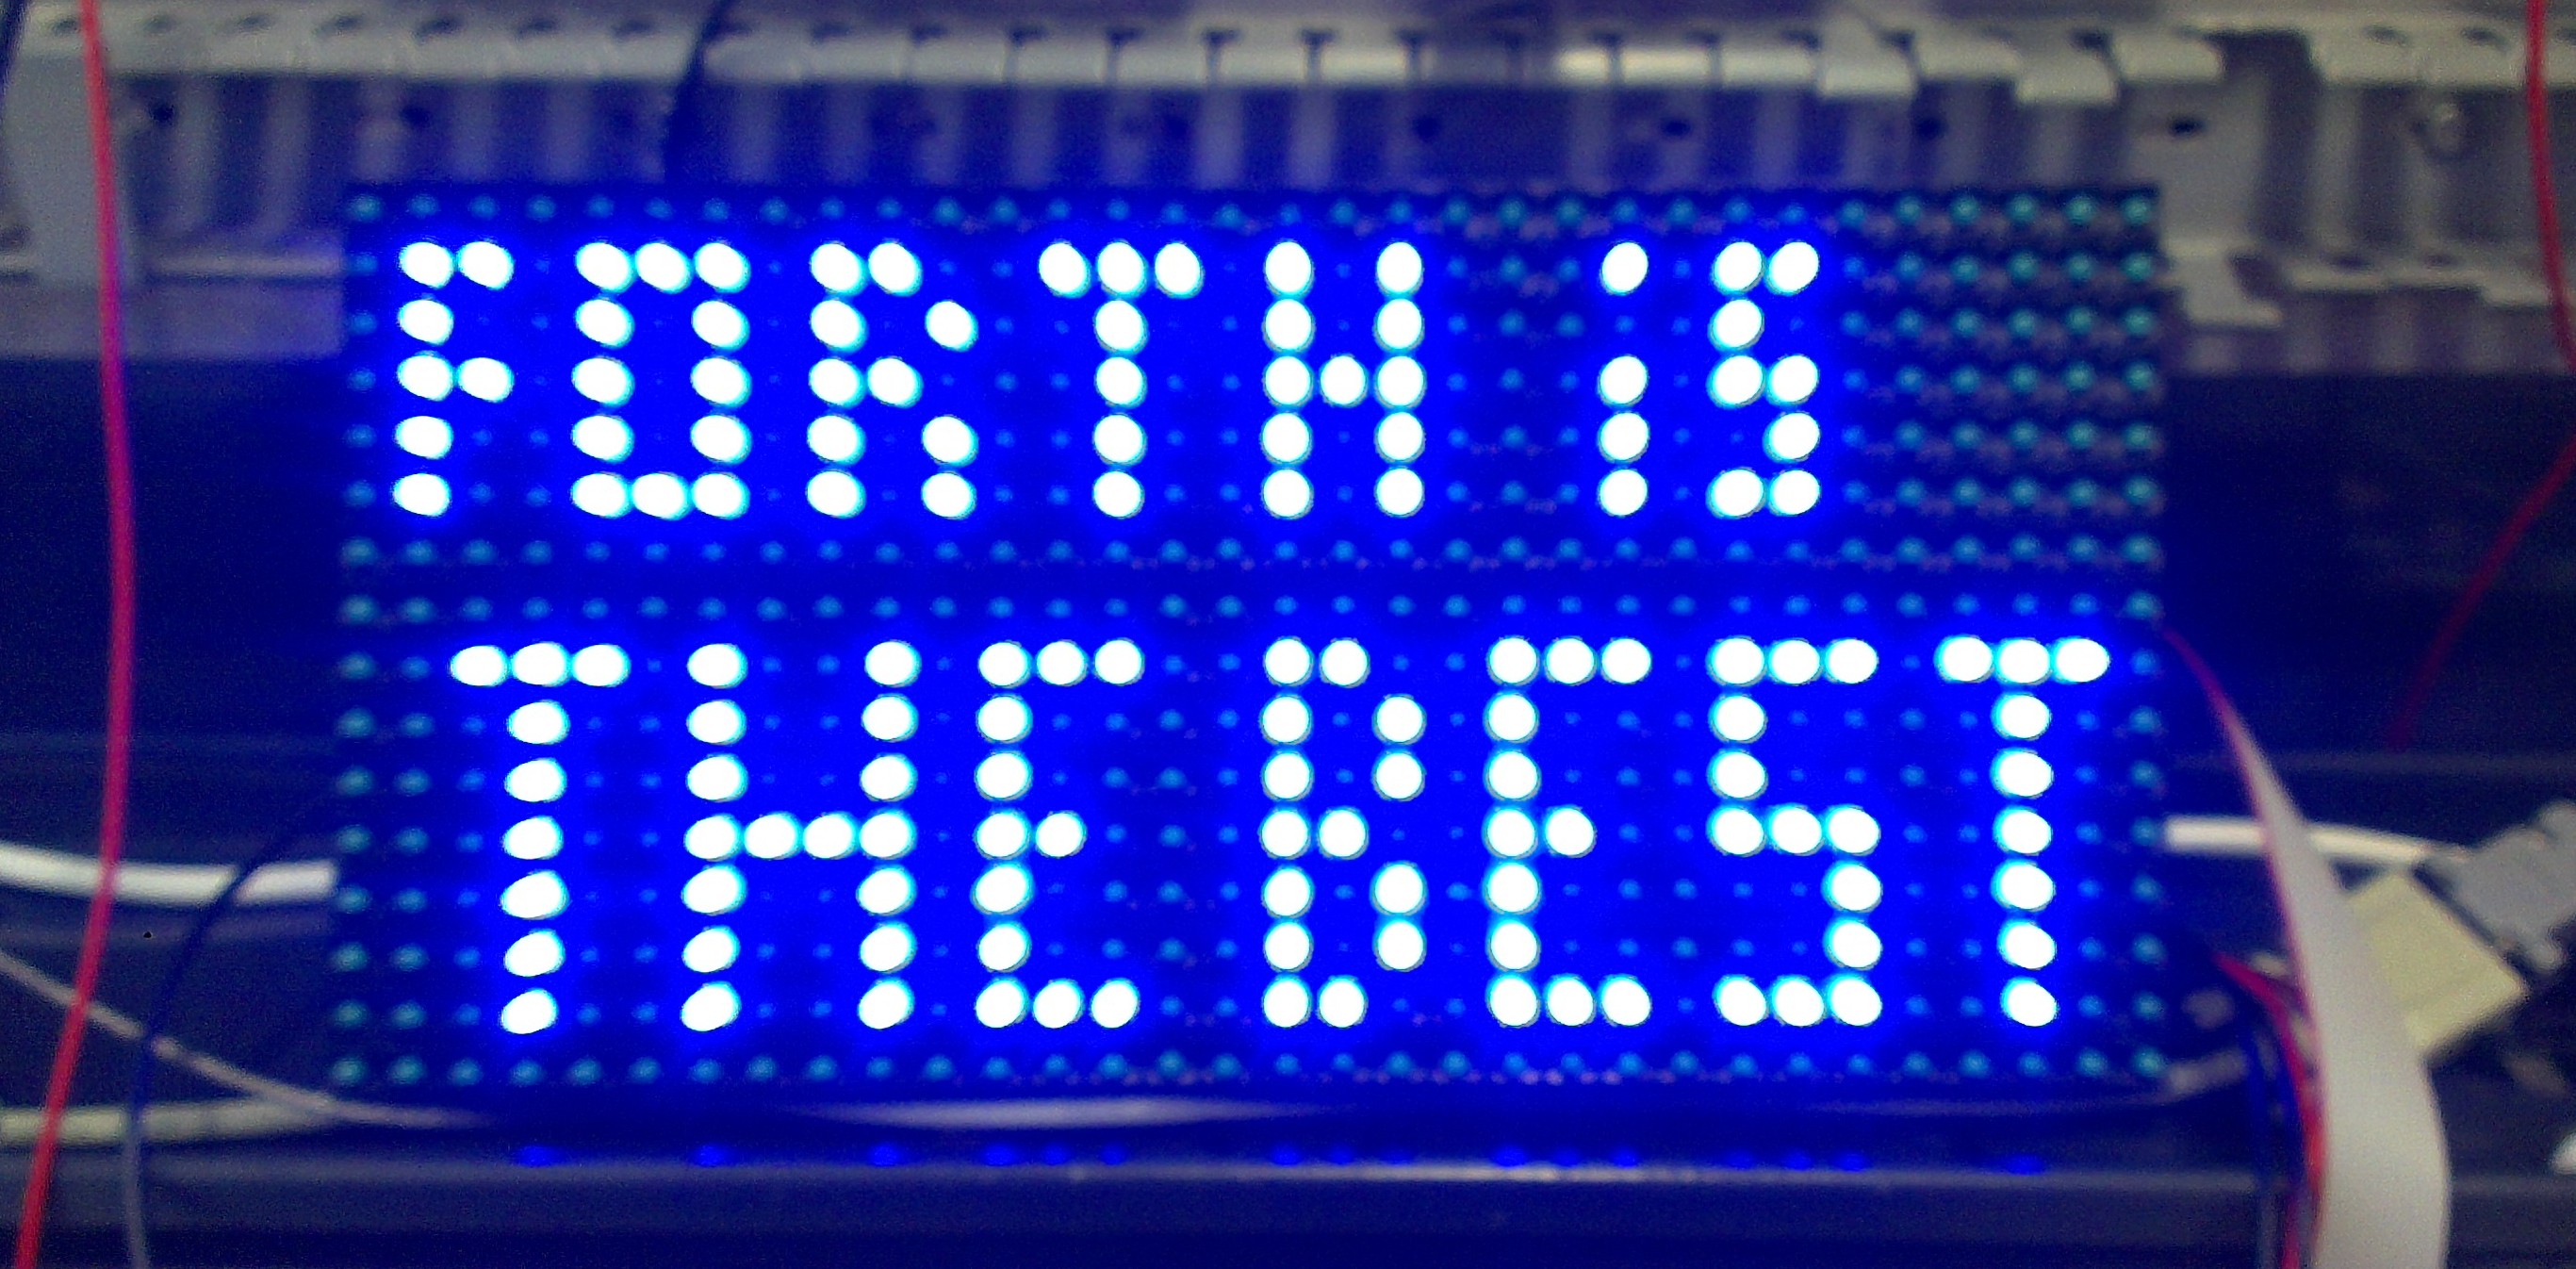
This feature also allows for custom size writing to be displayed.